



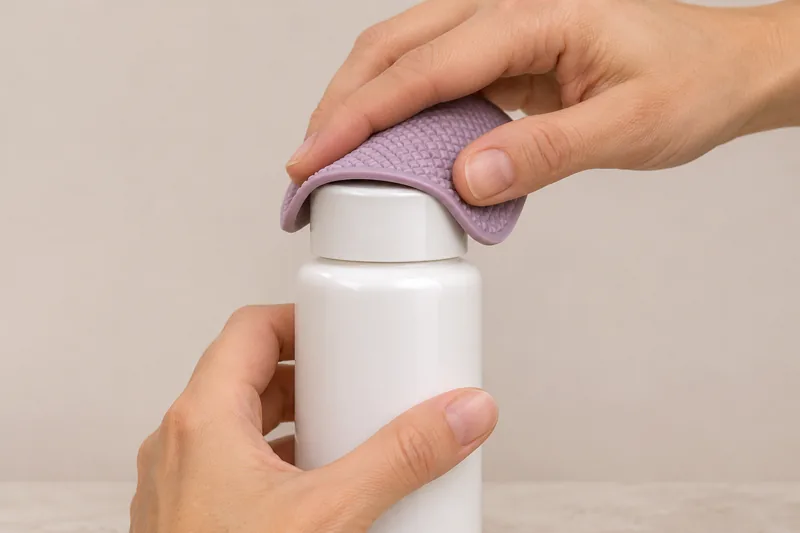
Quick answer: First confirm that the part you are turning is a screw cap—not a push-and-turn safety closure, twist-lock pump, or snap-on cover. For an ordinary screw cap, keep the bottle upright, dry both surfaces, grip the bottle body near its shoulder, wrap a clean non-slip pad around the cap, and turn the cap slowly counterclockwise when viewed from above. Stop if the neck whitens, flexes, cracks, leaks, or the cap spins without rising. More force is not a safe substitute for identifying the mechanism.
This guide addresses cosmetic and personal-care bottles with a threaded cap. It does not recommend opening a pressurized, flammable, corrosive, medicinal, or otherwise hazardous container by improvisation; follow that product’s label and supplier instructions instead. An obviously damaged bottle should not be opened by increasing force.
First identify what “twist” is supposed to do
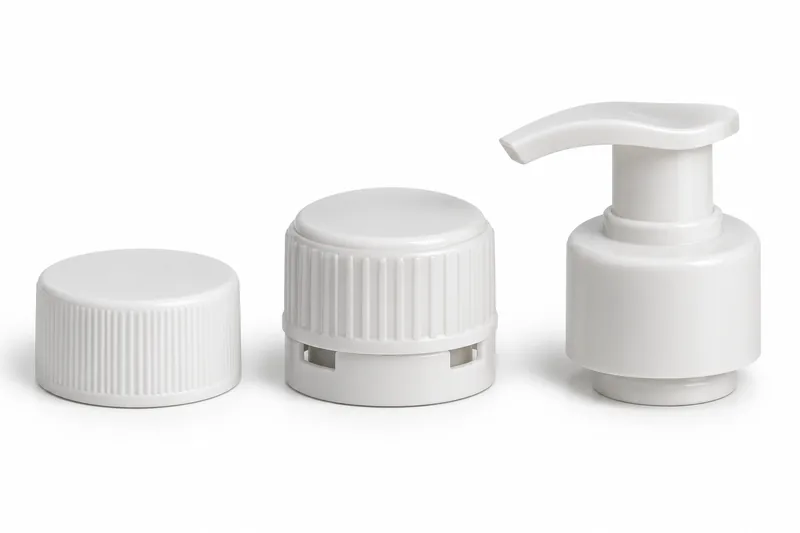
A plain continuous-thread cap moves upward as its internal thread follows the bottle-neck thread. A child-resistant outer shell may rotate without driving the inner threaded cap until the user presses down or squeezes marked side panels. A lotion pump may have a separate actuator that turns to unlock while its collar remains attached. A protective overcap can be a pull-off part with no thread at all. Look for molded arrows, push down and turn wording, squeeze points, a tamper-evident band, and the visible seam where the removable part meets the bottle.
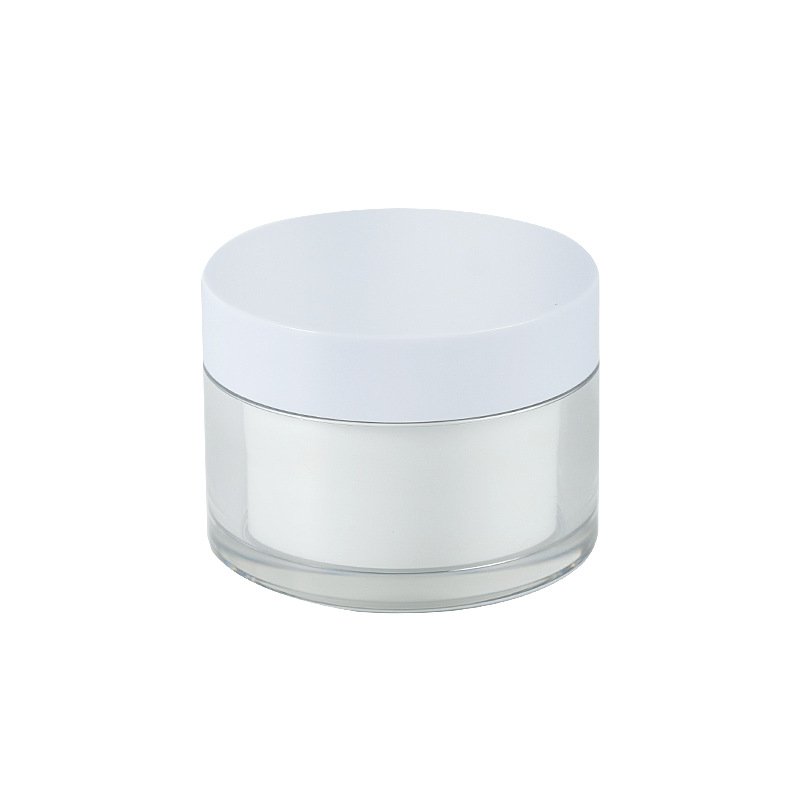
- Plain screw cap: grip the cap itself and rotate in the marked opening direction; standard right-hand threads generally loosen counterclockwise.
- Push-and-turn or squeeze-and-turn cap: perform the two actions shown on that closure at the same time. If it free-spins, the safety mechanism may not be engaged; do not pry off its outer shell.
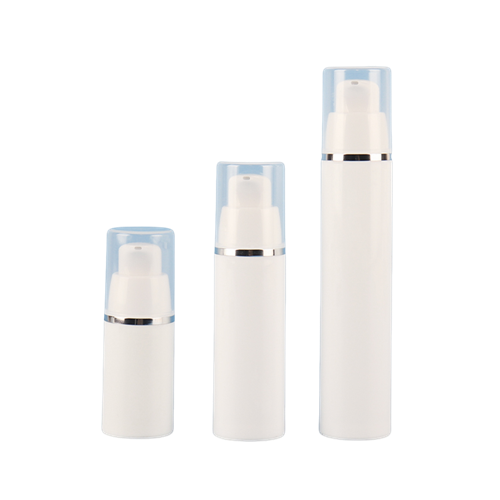
- Twist-lock pump: hold the collar and turn only the pump head toward its opening mark. This releases the actuator; it does not remove the bottle’s closure.
- Snap-on or crimped part: it may not unscrew. Stop and consult the package instructions before trying to remove it.
US CPSC information describes child-resistant packaging as a tested package system, not merely a cap that feels difficult to turn. A published CPSC example of a two-piece child-resistant screw cap opens by pressing down and turning together. That example does not mean every safety closure uses the same motion.
A no-damage method for a stuck screw cap
- Make it safe to handle. Set the bottle upright on a stable surface. Read the label if the contents are unfamiliar; do not experiment on a pressurized or hazardous pack. Inspect the glass or plastic neck for a crack, chip, whitening, or distorted thread. Stop if any is present.
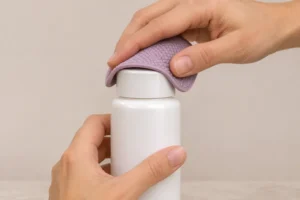
- Remove grip problems. Wipe product residue from the outside, then dry the cap and bottle fully. Use a clean rubber grip pad or textured glove on the cap. Support a plastic bottle high on its body or shoulder without crushing the wall; support glass securely without clamping the neck.
- Turn the correct part. Apply smooth, modest torque in the labeled opening direction. For a standard right-hand screw cap, that is counterclockwise viewed from above. Do not jerk the cap or twist the decorative outer shell if the actual closure is inside it.
- If residue is visible at the seam, clean only the outside. For a compatible, non-hazardous water-based product, a slightly damp cloth may soften residue around the outside cap edge. Keep water out of the product and dry the cap before retrying. Do not assume this will release oil-based, solvent-based, or adhesive residues.
- Stop if there is no controlled movement. Contact the brand or supplier for the closure-specific method or a replacement. A rubber strap opener may distribute load more evenly than pliers, but only use a tool rated for the cap and never continue if the bottle distorts or the grip slips.
Why will the cap not open? Diagnose the symptom
The cap does not move at all
Common possibilities are poor grip, high retained removal torque, dried product bridging the cap-to-neck gap, or a cap fitted at an angle. Improve grip once, then inspect the visible seam. If the cap is visibly tilted, do not torque it harder: cross-threading can create drag before the liner seats. On a new product, retain the packaging and request a replacement. On a repeated production problem, measure removal torque on untouched samples rather than trying to infer the cause from hand feel alone.
The cap spins but does not rise
First check for a two-piece child-resistant cap and follow its exact printed action. If a plain cap free-spins after previously working, its thread or the bottle neck may be stripped, or a decorative shell may be loose around the inner cap. Stop forcing it; the cap may no longer reseal reliably even if it comes off. For a pump, distinguish a turning actuator from the threaded collar.
The cap lifts slightly, then catches
A tamper-evident band can add a separate bridge-breaking event during first opening. The cap may also be cocked, or its liner may adhere to the bottle’s sealing land. Do not lever under the band or neck. If a cap was already opened but now catches, look for a damaged or misaligned thread and stop if the bottle finish is deformed.
The cap opens, but the bottle leaks when reclosed
Opening the cap is not the end of the diagnosis. Inspect the sealing land, liner or gasket, thread, and cap alignment; wipe away product from the mating surfaces. Reapply by hand from the correct thread start without overtightening. If the liner is torn, the neck cracked, or the thread stripped, replace the affected component rather than claiming a tight feel proves a seal. Boyu’s cosmetic bottle leak-testing guide explains how to validate a filled package rather than relying on cap feel.
Does bottle or cap material change the safest method?
Yes, mainly by changing what fails first. A rigid glass bottle can resist hand squeezing, but a chipped or cracked finish can break suddenly under concentrated force. Protect your hands and never use a metal lever against its neck. A thin-wall plastic bottle may twist or collapse before a tight cap moves; hold near the shoulder and stop if the neck visibly distorts. The actual behavior depends on wall design, resin, finish geometry, temperature, age and fill—not just a label such as PET or HDPE.
Many cosmetic caps are PP or another molded polymer; some have a metal decorative shell or a metal closure. A metal outer cap can conceal a plastic threaded insert, so turning the shell may not turn the liner-bearing component if the bond has failed. Metal-on-glass and plastic-on-plastic packs can use different application settings and liners. Published supplier torque charts are specific to their own package families and are not opening-force instructions for consumers. A warm-water trick quoted online for one beverage or jar should not be generalized to glass, acrylic, airless cosmetics, volatile fragrances, or unknown formulas.
When sourcing packaging, compare the actual bottle-and-closure drawings and material combination, not diameter alone. Boyu’s plastic bottle neck-finish guide shows why two apparently similar cap sizes may not fit or seal alike. Its plastic cosmetic bottle range provides bottle formats for sampling with the intended cap.
How does a twist closure work?
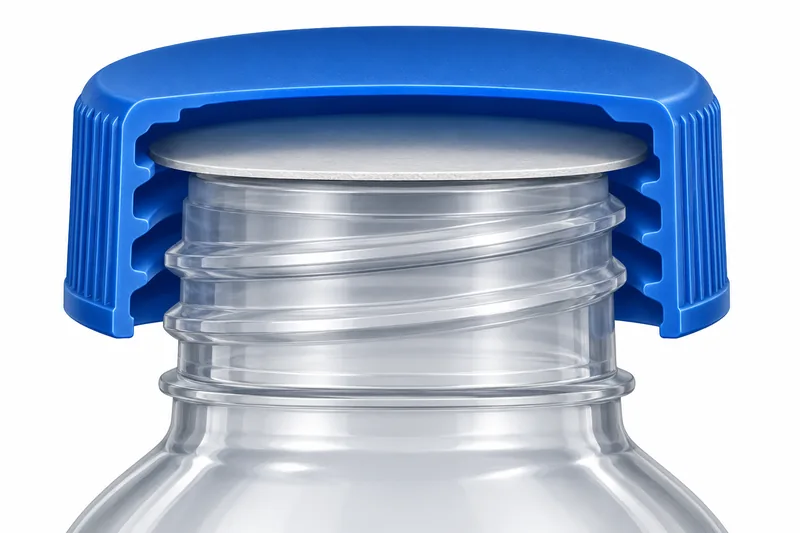
On a standard screw closure, turning the cap makes its internal thread travel along the bottle’s external thread. Closing draws the cap down and loads a liner, gasket, plug, or molded seal against the designed bottle surface. The opening motion must first overcome friction and any seal adhesion; that initial peak is often called breakaway or removal torque. A tamper-evident band can create another distinct peak when its bridges break. These events are not interchangeable, which is why a cap can feel “stuck” for more than one reason.
ASTM D2063/D2063M-24 describes measurement of removal-torque retention for matched continuous-thread packages under defined conditions over time. It is an engineering test method, not a universal consumer threshold or proof of leak-tightness. Silgan Closures’ quality bulletin also separates the initial T1 removal event from tamper-evident band behavior. For product development, Boyu’s bottle cap torque guide explains why application torque, delayed removal torque and sealing performance need separate controls.
How can a brand prevent bottles that buyers cannot open?
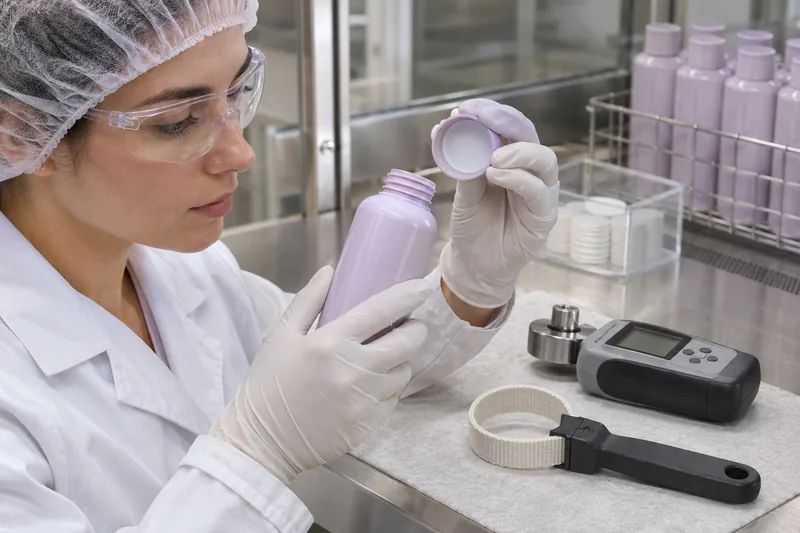
Test the complete filled package, not a loose cap. Record the bottle and closure part numbers, finish drawings, liner, fill temperature, formula, capping head, application setting and time between capping and measurement. Then sample across capping heads, shifts and component lots. Measure both immediate and aged removal torque at defined temperatures; inspect cap height, tilt, tamper-band behavior, thread damage and leakage. A high opening reading may be caused by cross-threading or residue rather than a genuinely secure seal.
Set a project-specific operating window: low enough that intended users can open it; high enough that the assembled package remains sealed under storage and distribution, without stripping the finish. Test with representative users where ease of opening matters. If complaints cluster in one batch, preserve unopened samples and compare suspect cap plus known-good bottle, then suspect bottle plus known-good cap. This crossover can narrow the component-side cause, but it does not by itself establish root cause. Correct the process or component, then requalify with the actual formula and pack-out.
Frequently asked questions
Which way do I turn a twist bottle cap?
A conventional right-hand screw cap loosens counterclockwise when viewed from above. Follow an opening arrow if present. A twist-lock pump head or special safety closure may require a different action.
Should I run a stuck cap under hot water?
Not as a universal fix. Heat can affect a formula, label, liner, plastic part or glass through thermal shock. For an ordinary non-hazardous water-based product, a room-temperature damp cloth on external residue is a more conservative first step; keep water out of the contents and dry before gripping.
Will a rubber band or grip pad damage the bottle?
A clean, soft, non-slip pad generally improves grip without metal-tool contact, but it can still scuff a delicate coating or label. Place it on the cap, not over fragile decoration, and stop if you need enough force to deform the container.
Can I reuse the bottle after the cap finally opens?
Only if the bottle, finish, cap and sealing element are intact and the product maker permits refilling. A stripped thread, torn liner, chipped glass rim, or cracked plastic neck makes reliable resealing doubtful. Cleaning and formula compatibility also need to be addressed; opening alone does not establish safe reusability.
Sources
- ASTM D2063/D2063M-24, removal-torque retention of continuous-thread closures.
- Silgan Closures, Plastic Closure Quality Checks, Technical Assistance Bulletin 014.
- US Consumer Product Safety Commission, Special Packaging FAQs.
- US CPSC, example of a push-down-and-turn child-resistant screw cap.
- Berlin Packaging, closure torque application specifications for defined container systems.
 English
 Español de Argentina
 Русский
 Italiano
 日本語
 한국어
 العربية
 Français
 Deutsch