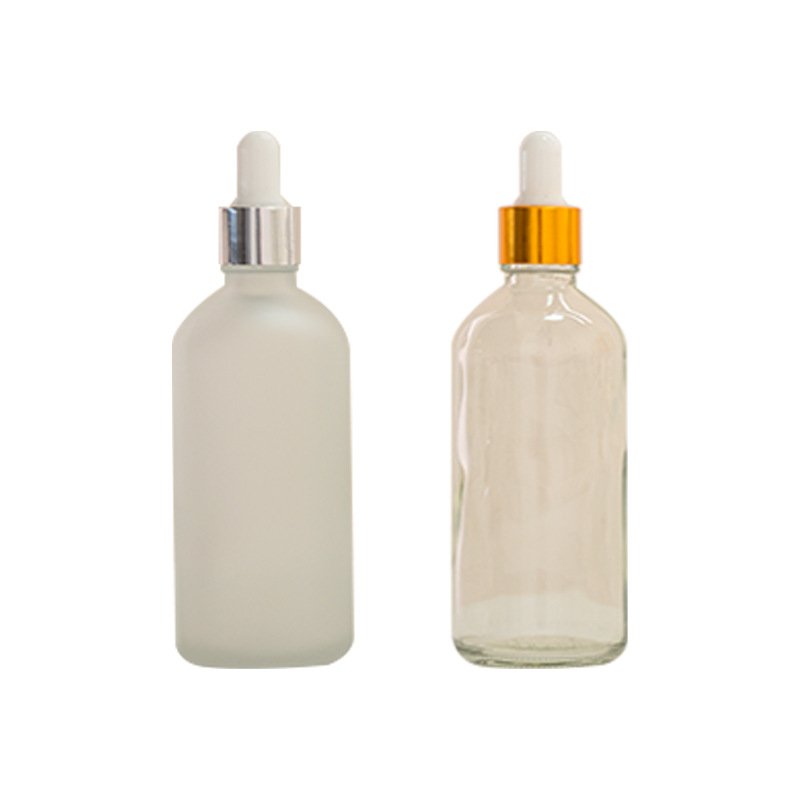
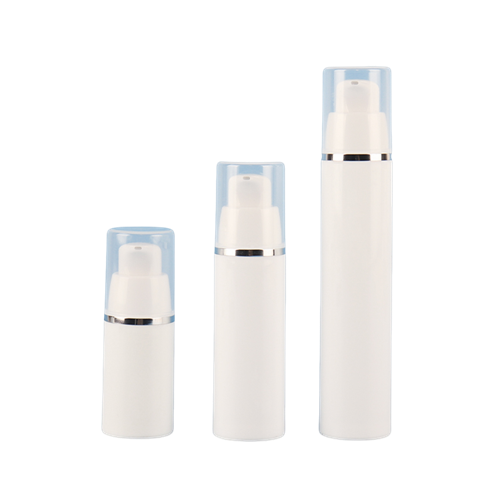
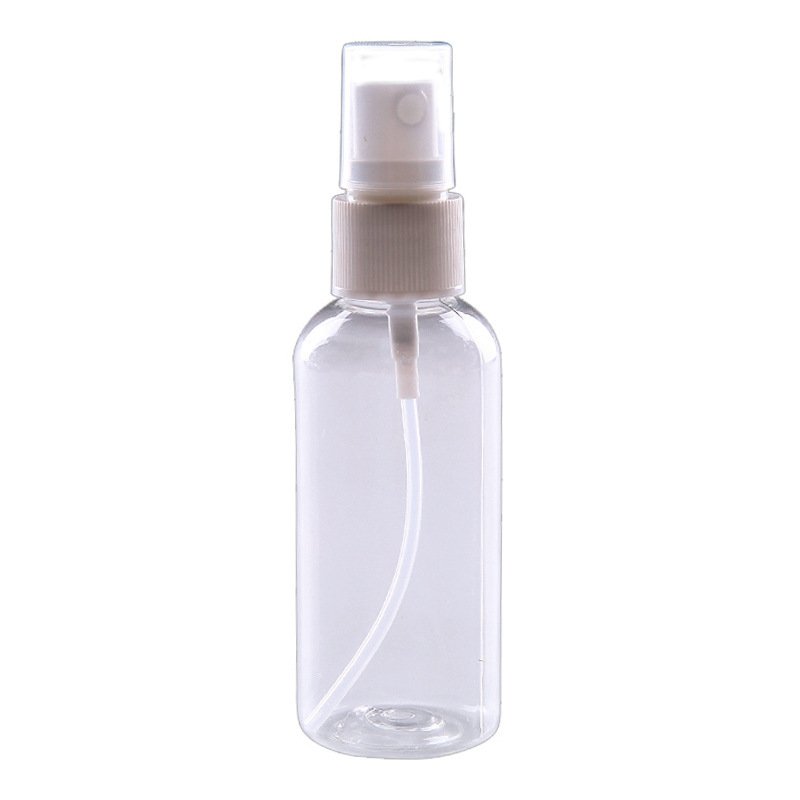
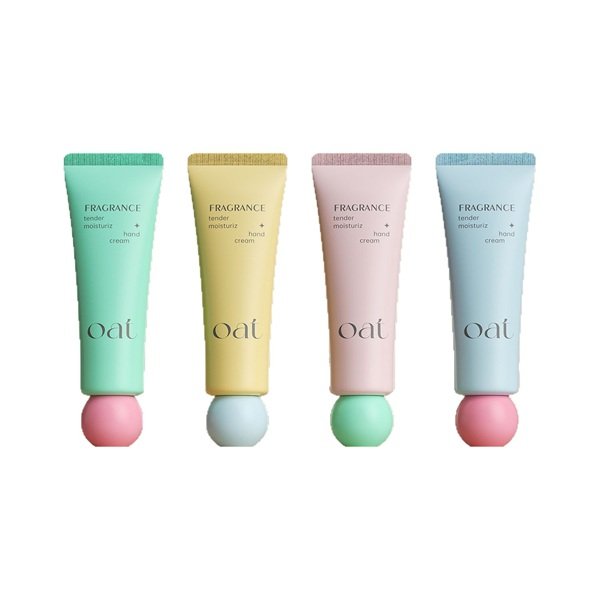
Direct answer: cosmetic bottle labels usually peel because the pressure-sensitive adhesive never developed enough contact with the real bottle surface—or because moisture, oil, bottle flexing, tight curvature or transport abrasion later created a peel force greater than the bond. The fix is not automatically a “stronger” glue. First identify where the failure occurred, then match the bottle surface, facestock, adhesive, label geometry and application process to the complete filled-product lifecycle.
A waterproof film can still peel if its adhesive is incompatible, and a high-tack adhesive can still fail on a wet, oily or contaminated bottle. Qualification must use production-intent bottles and labels, controlled application conditions, the final formula, realistic aging and the actual shipping pack.
This guide is for cosmetic packaging engineers, brand quality teams, contract fillers, label converters and sourcing teams investigating pressure-sensitive label edge lift, flagging or complete release.
How a pressure-sensitive label stays on a cosmetic bottle
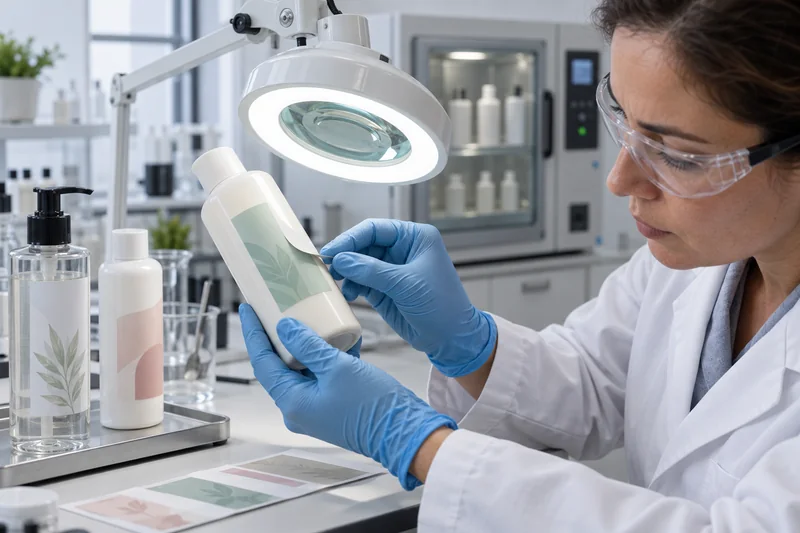
A pressure-sensitive label is a construction, not a single material. It normally contains a printable facestock, a pressure-sensitive adhesive and a release liner used only during converting and application. Optional topcoats, inks, varnishes or laminates protect the graphics, but they also change stiffness and the force trying to pull the label back toward its original flat shape.
The adhesive is viscoelastic: under suitable pressure and temperature, it flows into close contact with the microscopic texture of the bottle. This process is called wet-out. Initial tack holds the label during application; bond strength then develops with dwell time. The label remains flat only while adhesion at the bottle interface exceeds the combined stresses from facestock memory, bottle curvature, squeeze deformation, thermal movement, product exposure and handling.
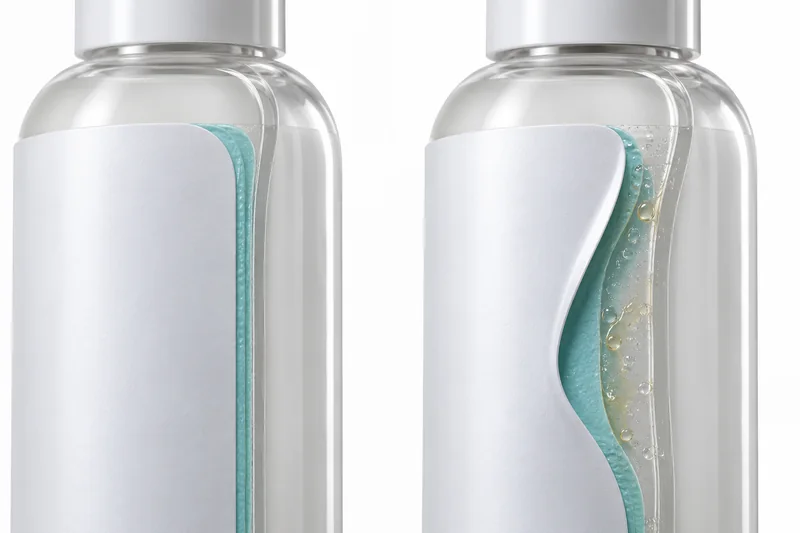
Why the edge usually lifts first
A label edge is both exposed and mechanically vulnerable. It can catch against a carton divider, receive less wipe-down pressure than the centre, or admit a small amount of water or oil. On a round bottle, the facestock constantly tries to flatten; on a tapered bottle, a rectangular label is forced to follow two different circumferences. Once an edge releases, the local peel angle increases and the lifted area can propagate inward.
Why humidity, oily formulas and transport cause edge lift
Humidity and condensation create different failure modes
Humidity can change a paper facestock or liner dimensionally, causing curl, waviness or extra edge stress. Condensation is liquid water on the bottle; if present at application, it becomes a release layer between adhesive and substrate. If it forms later, it can enter an already weak edge and worsen lifting. Moving cold bottles into a warm humid labeling room is a common condensation trigger even when the bottle looks almost dry.
A moisture-resistant film face is useful for bathroom and wet-use cosmetics, but it does not justify labeling a damp bottle. Control the bottle-surface temperature relative to room dew point, eliminate rinse water, and keep air knives or compressed air free of oil and moisture. Label-stock reels should also be conditioned and stored within the converter’s specified range rather than brought directly from an uncontrolled warehouse.
Oil can attack the interface from outside—or reveal another package failure
Face oils, hair oils, cleansing balms, sunscreens and fragranced products may expose a label to oils, esters, silicones, alcohol or surfactants. The most common path is external: product drips during filling, a leaking pump wets the label edge, or consumers handle the bottle with product on their hands. The liquid may soften the adhesive, reduce cohesive strength, stain paper, swell a coating or travel by capillary action under a raised edge.
Do not assume the oil migrated through the bottle wall. Investigate the path. Product concentrated below the pump or cap can indicate a closure leak; a directional stain from the shoulder points to filling contamination; diffuse failure around an apparently dry bottle may justify further compatibility or permeation work. A filled cosmetic packaging compatibility test should include the label when formula contact is reasonably foreseeable.
Transport combines heat, vibration, compression and abrasion
A label can pass a stationary room-temperature check yet fail in distribution. Carton partitions can rub a leading edge; bottles can rotate against one another; a flexible panel can breathe under vibration; heat can soften some adhesives; low temperature can reduce tack; and humidity cycling can move paper facestocks. If the closure leaks in transit, formula then creates a secondary adhesive failure.
Evaluate the fully filled retail unit in its final carton and shipper. Choose the route-relevant simulation rather than performing an arbitrary vibration or drop. Boyu’s guide to cosmetic packaging transport tests explains why a test method does not provide one universal severity or pass/fail criterion.
How bottle material, finish and geometry affect label adhesion
The label bonds to the surface it actually touches—not to the resin name on a purchase order. Colourants, slip additives, antistatic agents, recycled content, mould release, frosting, paint, soft-touch coating and storage age can all change the interface. Surface energy helps predict whether an adhesive can wet a clean surface, but it is not an approval result by itself. ASTM D2578 expressly cautions that wetting tension alone is not a complete measure of ink, coating or adhesive adhesion.[2]
| Bottle surface | Typical adhesion issue | Practical starting point | What must still be validated |
|---|---|---|---|
| PET / PETG | Often easier to wet than untreated polyolefins, but condensation, thin-wall deformation, tight radius and surface coatings still cause lift. | Permanent adhesive selected for the actual resin and service environment; BOPP or another film on rigid simple curves. | Bottle lot, coating, fill temperature, panel stiffness, label size and storage cycle. |
| HDPE / LDPE / PP | Low surface energy, additive bloom, mould-release residue and squeeze deformation. | Adhesive designed for low-surface-energy plastic; conformable face for squeezable or compound-curved bottles; controlled treatment if specified. | Exact resin, PCR level, colour, treatment age, flex cycles and formula exposure. |
| Glass | Clean bare glass is generally favourable, but cold-end coatings, silicone, grease, dust, condensation or sprayed colour can become the real bonding surface. | Match the adhesive to bare or coated glass and keep the label panel spotless and dry. | Coating system, cure, bottle curvature, storage moisture and decorative finish. |
| Painted, frosted or soft-touch surface | The coating—not the underlying glass or plastic—controls adhesion. Weak coating-to-bottle adhesion can look like label failure. | Test the complete coating/label stack after full coating cure. | Coating adhesion, solvent retention, label adhesive compatibility, staining and rework. |
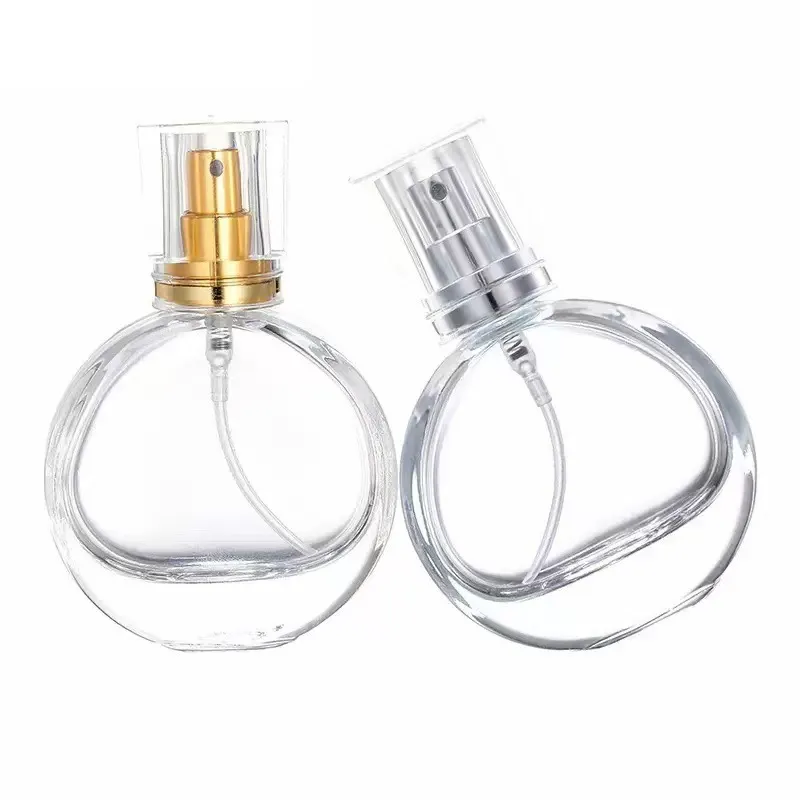
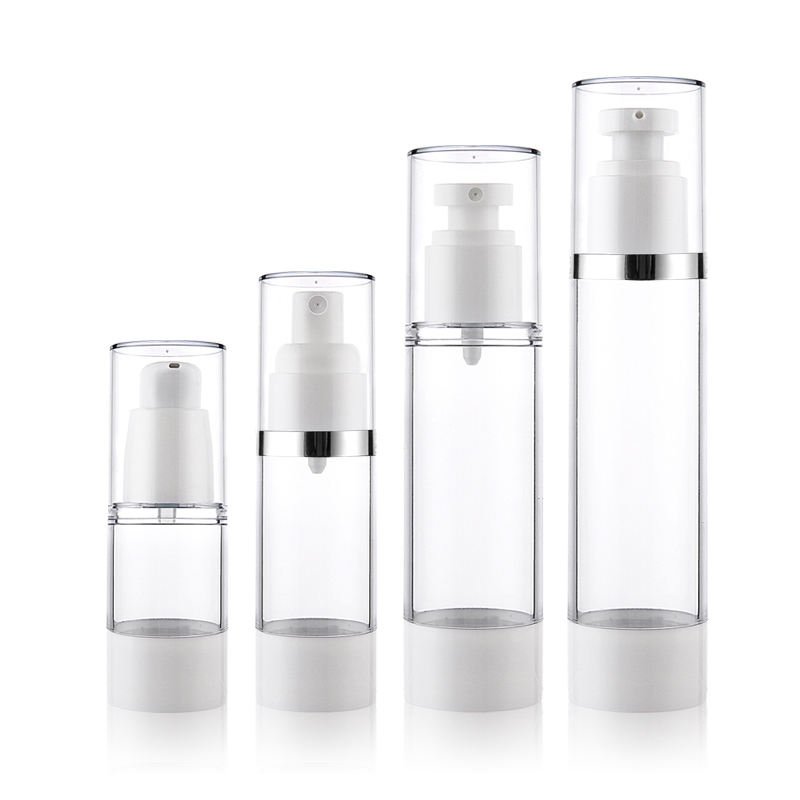
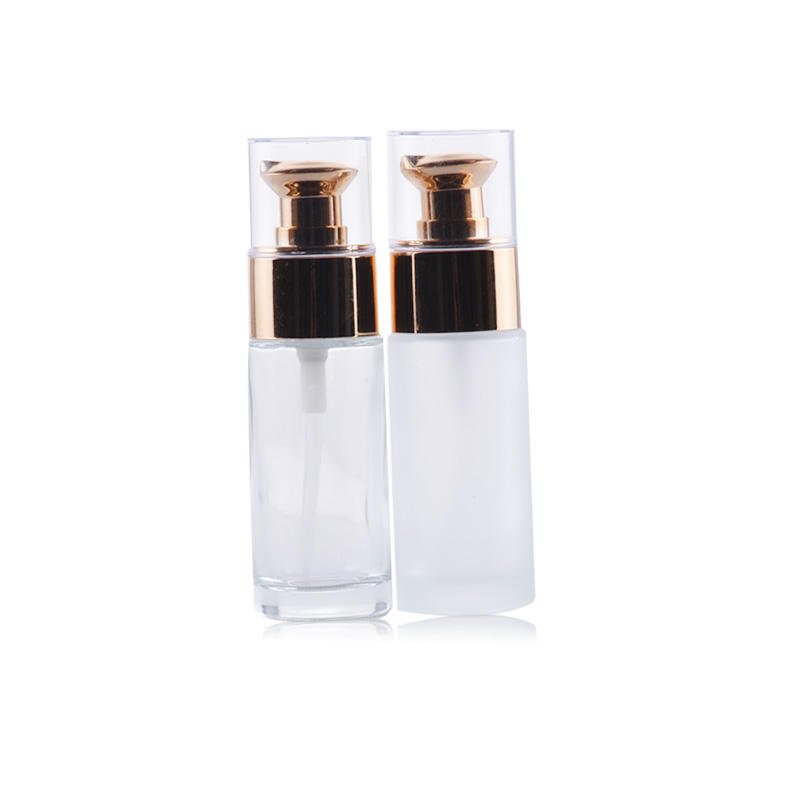
When choosing among plastic cosmetic bottle options, send the label converter the exact production resin, surface finish and flexibility—not only “plastic.” For cosmetic glass packaging, state whether the label contacts bare glass, frosting, spray colour or another coating.
Diameter, taper, seams and flexible panels
- Small diameter: increases the label’s tendency to spring flat. Use a thinner, more conformable construction and avoid unnecessarily large wrap width.
- Taper: may require an arced die line. A rectangular label cannot lie naturally on a conical panel.
- Mould seam or texture: reduces effective contact and can create an air path. Keep critical edges away from discontinuities.
- Squeeze panel: repeatedly strains the facestock and adhesive. Test filled bottles through representative squeeze and recovery cycles.
- Recessed label panel: protects against scuffing, but the label must fit fully inside the panel without bridging radii.
Paper versus film labels: which construction is safer?
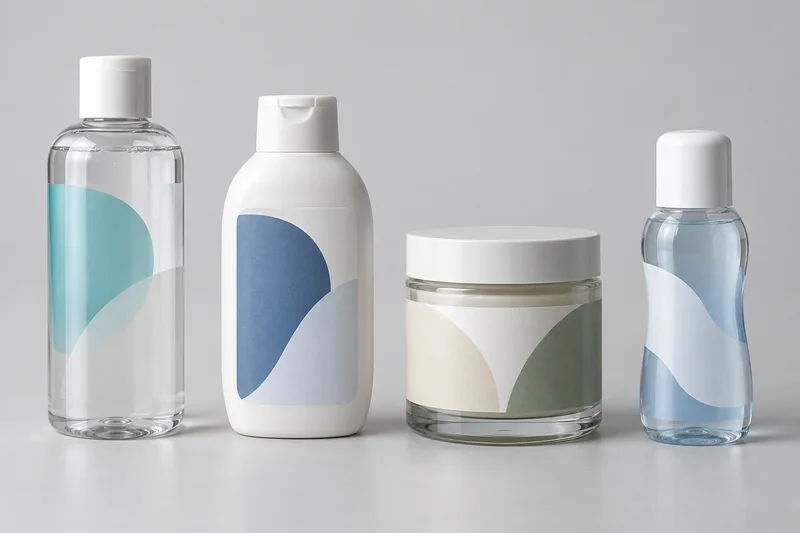
No facestock is universally best. The facestock manages print, appearance, moisture, scuffing and mechanical conformity; the adhesive manages attachment to the bottle. They must be specified together. Avery Dennison’s material guides distinguish rigid films for simple curves from conformable films for squeeze or complex shapes, while its paper guide identifies humidity, oil/grease resistance, wet strength and stiffness as separate selection properties.[5][6]
| Facestock | Strengths | Main failure risk | Suitable starting applications |
|---|---|---|---|
| Coated or wet-strength paper | Premium tactile appearance, opacity, broad print options and often favourable cost. | Moisture expansion, tearing, staining, edge wicking and stiffness on tight radii. A laminate may protect the face but increases stiffness. | Dry-use jars or bottles when the qualified grade has the required humidity, water and oil resistance. |
| BOPP / PP film | Water-resistant, clean print surface, white or clear “no-label” appearance, good dimensional stability. | A rigid or thick grade can flag on tight curves; clear labels reveal bubbles, haze and dust. | Rigid PET, glass and moderately curved containers, with substrate-matched adhesive. |
| PE or conformable MDO film | Conforms and moves with squeezable or compound-curved containers. | Print/topcoat compatibility, stretch, dispensing and dimensional stability require control. | HDPE/LDPE squeeze bottles and curved personal-care packs. |
| PET film | Dimensional stability, clarity and potential for durable chemical/scuff-resistant constructions. | Higher stiffness can increase edge stress on a small radius or flexible bottle. | Rigid containers and demanding durability applications after chemical qualification. |
Acrylic, rubber hotmelt and solvent acrylic adhesives
Adhesive-family names are only a starting point. Emulsion acrylics are widely used where clarity, long-term adhesion and resistance to heat, UV or plasticisers are important. Rubber hotmelts often provide strong initial tack and can suit rough or lower-temperature applications, but their heat, UV and solvent behaviour depends on the exact grade. Solvent acrylics can provide broad water, heat and chemical resistance for demanding applications. These are family-level tendencies, not approval of a specific label.[4]
Ask for the precise adhesive product code, technical data sheet, recommended substrates, minimum application temperature, service range, initial tack, ultimate adhesion, resistance to the named cosmetic ingredients and recycling implications. “Permanent acrylic” is not a complete specification.
Diagnose peeling from the failure pattern
Do not pull off several failed labels and discard the evidence. Photograph the defect in place, mark bottle orientation and lot, then peel a sample carefully and record where the adhesive remains. Failure appearance is a clue, not final proof, but it narrows the experiments dramatically.
| Observed pattern | Likely failure interface | How to confirm | Corrective direction |
|---|---|---|---|
| Adhesive stays on label; bottle looks clean | Weak adhesive-to-bottle bond from low surface energy, contamination, cold application or insufficient pressure. | Compare cleaned/untreated bottles, surface condition, application temperature and controlled roller pressure. | Correct surface preparation or select a substrate-appropriate adhesive; validate treatment if used. |
| Adhesive visible on both label and bottle | Cohesive split or adhesive softening, possibly from heat, oil or solvent exposure. | Compare unexposed controls; expose to actual formula constituents under a defined protocol. | Qualify a chemically and thermally suitable adhesive construction. |
| Adhesive remains on bottle; face separates or delaminates | Facestock/adhesive anchorage, laminate or coating failure. | Microscopic comparison and converter review of topcoat, laminate, ink cure and construction. | Change label construction or converting process; stronger bottle adhesion alone will not solve it. |
| Both vertical edges lift; centre stays firm | Facestock memory, tight radius, taper, oversized rectangle or low edge pressure. | Try thinner/conformable face, smaller label or arced die line while holding adhesive constant. | Reduce mechanical peel stress and improve wipe-down at trailing edge. |
| Random islands, bubbles or patchy release | Dust, droplets, oil, fingerprints, textured panel, trapped air or bottle ovality. | Map defects to line position, cavity, operator contact and contamination source. | Remove contamination; stabilize bottle handling, support and applicator pressure. |
| Failure starts below cap or pump | Fill splash, closure leak or product residue flowing to label. | Use dye/absorbent tracing, mass checks and closure/leak investigation. | Fix filling or sealing first; then requalify exposed label. |
| Only carton-contact side scuffs or lifts after shipping | Abrasion, vibration, bottle rotation or tight partition. | Mark orientation before a route-relevant pack test and inspect contact points. | Change pack-out clearance/protection or qualify a tougher face/laminate and edge geometry. |
A defensible qualification protocol for cosmetic bottle labels
There is no universal peel-force or allowable edge-lift limit for every cosmetic bottle. ASTM D3330 provides controlled 90° and 180° peel methods and is useful for comparing pressure-sensitive materials or production lots, but ASTM states that the method cannot identify the specific cause of non-uniformity.[1] FINAT likewise provides separate methods for peel, shear, loop tack, ageing, low-temperature adhesion, dimensional stability and chemical resistance.[3] A flat reference panel test does not recreate a curved, squeezable or coated cosmetic bottle.
1. Lock the exact test configuration
- Bottle: supplier, mould/cavity where available, resin grade, PCR percentage, colour, surface coating, age, dimensions and label-panel geometry.
- Label: facestock code and thickness, adhesive code and coat, liner, topcoat, ink, varnish/laminate, die shape, dimensions and roll direction.
- Application: machine, speed, bottle support, wipe roller/pad, pressure setting, bottle and room temperature, relative humidity and cleaning method.
- Product: final formula, fill temperature, fill level, closure and expected splash/consumer handling.
- Distribution: retail carton, dividers, master case, pallet or parcel route and expected climates.
2. Establish a controlled baseline
Apply labels to clean, dry, production-intent bottles within the adhesive supplier’s application window. Record label position, bubbles, wrinkles, edge condition and bottle-surface condition. Use a controlled hand roller for laboratory screening or document actual applicator settings for line trials. Test across more than one bottle lot, label-roll position and meaningful production source; a single perfect sample cannot represent the process.
Inspect at defined bond-build times—for example immediately, after a short dwell and at later agreed intervals—but use the adhesive supplier’s data to set the final schedule. Do not ship or chill labels before the agreed minimum bond-build period unless that accelerated handling is intentionally part of the challenge.
3. Challenge each real failure mechanism separately, then together
- Humidity and condensation: use defined temperature/RH conditions and transitions that represent storage or bathroom use; record bottle-surface condensation, not only chamber setpoints.
- Water and formula splash: expose the face and vulnerable edges to water and the actual final formula. Include cleaning/wiping only if consumers will do it.
- Oil and solvent resistance: test the finished printed/laminated label and adhesive against named ingredients or complete formula. Avoid replacing a complex cosmetic with one solvent unless the study is explicitly a screen.
- Temperature: distinguish application temperature from service temperature. Include hot warehouse, cold distribution or cycling only when relevant.
- Mechanical use: add squeeze/recovery cycles for flexible packs and abrasion/rub for handled or tightly packed bottles.
- Distribution: test filled units in final pack-out through the chosen vibration, drop, compression and atmospheric sequence. ISTA notes that its general simulation procedures reproduce combinations of transport hazards rather than guarantee every carrier requirement.[10]
4. Define acceptance before seeing results
Specify how edge lift is measured—maximum lifted distance, affected perimeter or another reproducible metric—and at what time. Include no complete release, no illegible or missing mandatory copy, barcode scanability where required, no ink transfer or unacceptable staining, and no label-driven interference with closure or use. The limit should reflect product safety, regulatory information, brand appearance, retail requirements and process capability; it should not be widened after a failure merely to accept the lot.
Place label testing inside the broader set of cosmetic bottle qualification tests. A label result cannot compensate for leakage, formula instability or dispensing failure.
How factories prevent label peeling
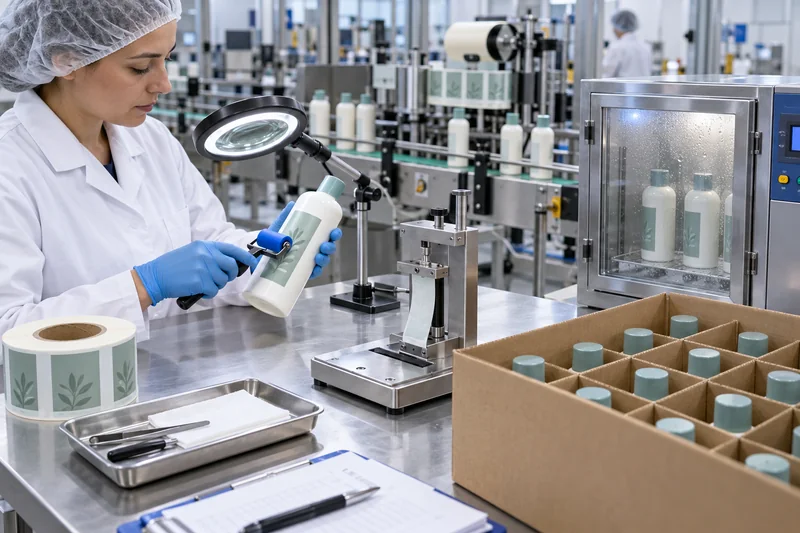
Before production: make the label system a controlled specification
- Approve a dimensioned bottle drawing with a label panel, curvature/taper data, mould seam and keep-out zones.
- Lock the label construction by manufacturer and product code, not generic terms such as “white PP sticker.”
- Approve artwork, die line, roll direction, unwind, core, splice rules, label gap and sensor marks for the actual applicator.
- Define storage life and conditions for label rolls; use first-expired/first-out where shelf life applies.
- Use a signed production-intent golden sample after the filled-pack qualification—not an empty hand-labeled mock-up.
Incoming controls for bottles and labels
Inspect bottles for dust, oil, silicone, mould release, condensation, coating cure, texture, ovality and panel dimensions. Surface-energy or wetting-tension checks can monitor a validated process, but they cannot replace adhesion tests on the real pack. Inspect label rolls for correct construction, width, winding, die-cut quality, edge curl, adhesive ooze, liner damage, telescoping, storage history and traceable lot identification.
Application-line controls
- Equilibrate cold bottles and rolls; confirm the bottle is above dew point and visibly dry.
- Keep silicone sprays, hand lotion, release agents and oily maintenance products away from the label panel and applicator.
- Verify applicator alignment, bottle support, wipe roller or brush condition, pressure, speed and trailing-edge contact at startup and changeover.
- Control fill splash and cap/pump leakage before labeling. Cleaning residue can be as damaging as the product it removes.
- Approve first-off pieces and periodic samples from different bottle cavities, label rolls, shifts and heads.
- Allow the specified bond-build time before tight cartoning, chilling, shrink wrapping or shipment.
Packing, traceability and change control
Cartons and dividers should prevent label-to-label rubbing, bottle rotation and point pressure at label edges. Retain labeled, filled samples with the bottle lot, label lot, formula batch, application date and line settings. Requalify changes to resin/PCR level, surface treatment, coating, bottle supplier or mould, label facestock, adhesive, laminate, ink, die line, applicator, fill temperature, formula or pack-out. Similar appearance does not establish equivalence.
What to do when a production lot is already peeling
- Quarantine the affected scope. Hold finished units, work in process and related bottle/label lots. Do not press corners back down and release the shipment.
- Map the defect. Record when it appeared, bottle orientation, label edge, carton position, cavity/lot, roll position, shift, applicator head and environmental history.
- Protect evidence. Keep failed units, unfailed controls, unused labels, unlabelled bottles, formula and packaging materials.
- Identify the failure interface. Use the residue and symptom matrix above, microscopy where useful, and controlled comparison trials rather than changing several variables at once.
- Separate material from process. Compare retained label on cleaned bottle, current label on an approved reference bottle, alternate adhesive with the same face, and alternate conformable face with the same adhesive.
- Confirm the product path. If oil or formula is present, investigate filling and closure leakage before blaming the label.
- Approve disposition and CAPA. Rework, over-label, sort or reject through the quality system; revalidate the corrected system and update the control plan.
When can bottles be relabeled?
Relabel only when the original can be removed without damaging the bottle, coating or mandatory traceability; the surface can be cleaned and dried with an approved process; the replacement label is qualified; and every required statement remains correct and readable. An over-label may be acceptable only when it does not conceal conflicting information, impair tamper evidence, create an unacceptable step edge or compromise barcode scanning.
Do not improvise with a heat gun, aggressive solvent, primer or extra glue on filled cosmetics. Such methods can craze plastic, attack coatings, soften the formula package, leave residue or create operator-safety risks. Oil-soaked paper labels, contaminated bottles or packages with unresolved closure leakage often require rejection rather than cosmetic repair.
What buyers should include in a label RFQ and approval specification
Send the supplier:
- Physical production bottles from each relevant material/finish, plus drawing and label-panel dimensions.
- Formula type and named exposures: water, oils, esters, alcohol, fragrance, surfactants, sunscreen filters and cleaners.
- Application method, line speed, bottle/fill temperature, room conditions and available wipe-down system.
- Use environment: bathroom, shower, salon, travel, refrigeration, hot warehouse, e-commerce or retail pallet.
- Artwork, print method, overlaminate/varnish, barcode, legal-copy and recycling constraints.
- Test method, conditioning, sample rationale, measurements and pre-agreed acceptance criteria.
Shortlist representative skincare packaging formats before the label trial so the converter tests the actual curvature, finish and flexibility. A flat material swatch or digital mock-up cannot establish finished-bottle performance.
Can a peeling cosmetic label become a compliance problem?
Potentially, yes. In the United States, FDA says required cosmetic label statements must be prominent and conspicuous so consumers can readily notice and understand them under customary conditions of purchase.[8] In the European Union, Article 19 of Regulation (EC) No 1223/2009 requires specified information on the container and packaging in indelible, easily legible and visible lettering.[9]
Those rules do not prescribe one adhesive or one peel test. However, if a label carrying required information detaches, curls over text or becomes unreadable, the finished product may no longer meet the applicable presentation requirement. Market-specific regulatory review should therefore be part of label acceptance, especially for small bottles, multilingual labels and products sold without an outer carton.
Common mistakes that create repeat failures
- Specifying only the facestock: “BOPP label” says nothing about the adhesive, topcoat, laminate or actual bottle interface.
- Using a steel or glass peel value as bottle approval: reference-panel data controls consistency; it does not reproduce curvature, coating, flexing or contamination.
- Cleaning every trial bottle by hand: this can hide a production contamination problem. Test both the normal controlled process and diagnostic cleaned samples.
- Changing adhesive, facestock and die line together: the result may improve, but the team will not know which variable fixed the problem or how to control it.
- Approving immediately after application: delayed edge lift can appear while the bond builds and the facestock continuously pulls against the curve.
- Testing empty upright bottles only: formula, closure leakage, squeeze use and pack-out can be the trigger.
- Treating surface energy as a warranty: a dyne result is a process indicator, not proof of complete label performance.
Frequently asked questions
What label is best for a humid bathroom?
A moisture-resistant film construction is often a better starting point than ordinary unprotected paper, but the best choice still depends on bottle material, curvature, squeeze, adhesive, print protection and whether water or formula reaches the edge. Apply to a clean dry bottle and validate humidity/condensation cycles with the final filled pack.
Why do labels peel more easily from HDPE and PP bottles?
Untreated HDPE and PP are low-surface-energy plastics, so some general-purpose adhesives do not wet them sufficiently. Additive bloom, mould release and squeeze deformation can make the task harder. Use an adhesive qualified for the exact polyolefin surface or a validated surface treatment, plus a conformable facestock when the bottle flexes.
Why is a waterproof label still peeling?
“Waterproof” may describe only the film or printed face. The adhesive may still be wrong for the bottle, the surface may have been wet at application, oil may have reached the edge, or the facestock may be too stiff for the curve. Ask for the complete facestock/adhesive/finish specification and test the assembled pack.
Should every cosmetic bottle be wiped with alcohol before labeling?
Not automatically. A supplier-approved cleaning method can be useful, but uncontrolled solvent wiping adds residue, static, worker variation and possible coating or plastic damage. The production goal is a consistently clean, dry bottle from a validated process. Use hand-cleaned samples diagnostically, then design a scalable control.
Will a stronger adhesive always stop edge lift?
No. Higher tack cannot correct condensation, oil, poor wipe-down, an incompatible coating, excessive label stiffness, a rectangular die line on a taper or carton abrasion. It may also make relabeling harder or affect recycling. Diagnose the limiting interface before changing the adhesive.
Sources and technical references
- ASTM D3330/D3330M-04(2025), Standard Test Method for Peel Adhesion of Pressure-Sensitive Tape.
- ASTM D2578-23, Standard Test Method for Wetting Tension of Polyethylene and Polypropylene Films.
- FINAT Technical Handbook: test methods for pressure-sensitive labels.
- Avery Dennison, Adhesive Technologies Technical Guide, ASEAN 2025.
- Avery Dennison, Film Materials Technical Guide, North America 2025.
- Avery Dennison, Paper Materials Technical Guide.
- Avery Dennison, Technical Guide to Neck Label Application.
- US FDA, Summary of Cosmetics Labeling Requirements.
- Regulation (EC) No 1223/2009 on cosmetic products, Article 19.
- International Safe Transit Association, Test Procedures.


 English
  Español de Argentina
  Русский
  Italiano
  日本語
日本語  한국어
한국어  العربية
  Français
  Deutsch