
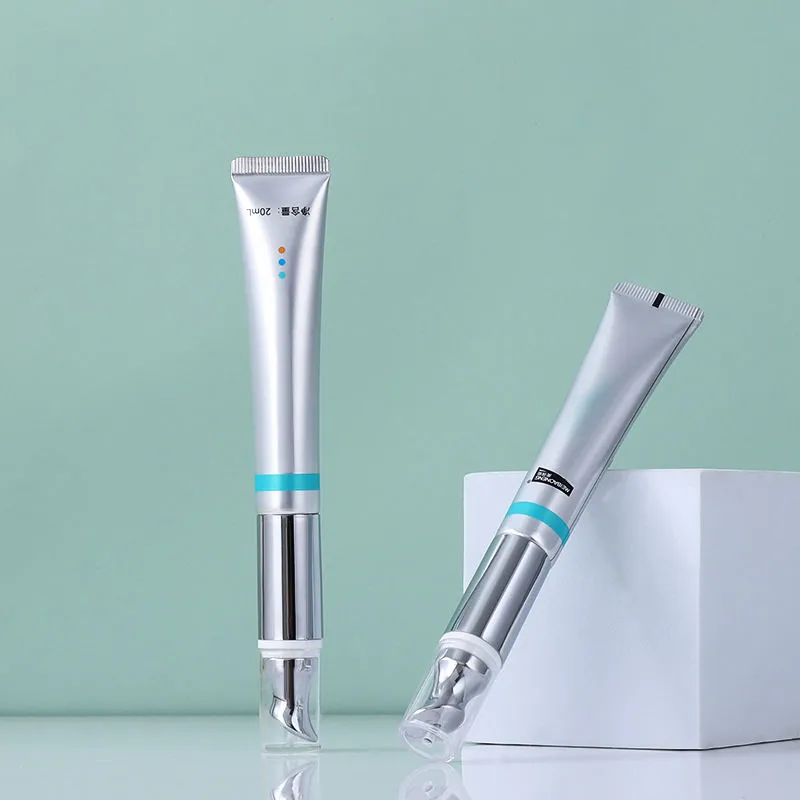
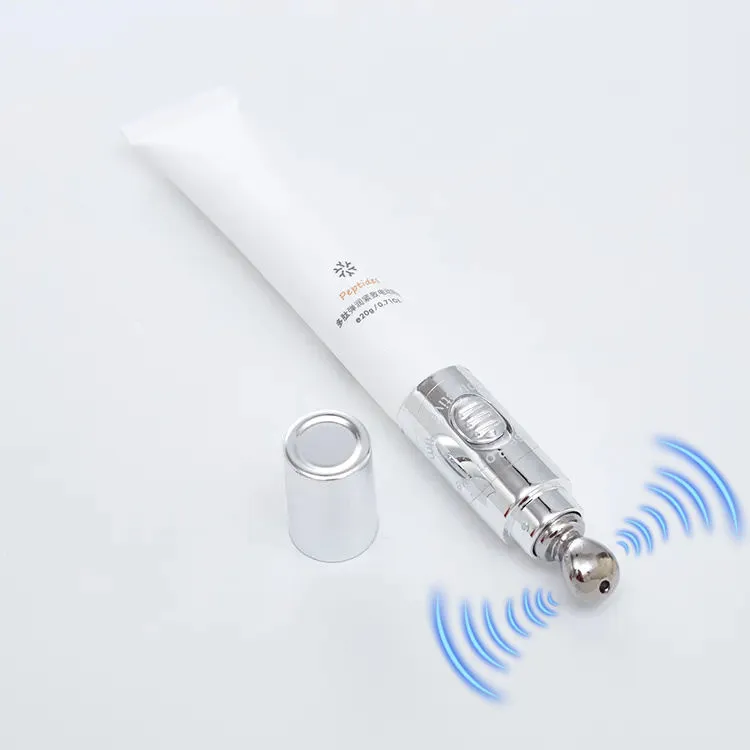
Direct answer: a cosmetic tube tail leaks, cracks or bursts when the two inner sealing surfaces do not form a continuous, adequately strong weld—or when a sound-looking weld is later overloaded. The most common root causes are insufficient or excessive heat, product in the seal zone, incorrect jaw pressure or cooling, tube misalignment, an unsuitable tube/sealing-method combination, and environmental or distribution stress.
Do not start by increasing temperature. First locate the failure: flattened tail seal, laminate side seam, shoulder/head weld, tube wall, or cap/orifice. Then determine whether the defect is an open channel, weak bond, heat-thinned section, crack, delamination or closure leak. Each requires a different correction and a different verification test.
This guide is for cosmetic brands, contract fillers, tube converters, packaging engineers and quality teams working with PE, coextruded plastic, PBL or ABL squeeze tubes. Aluminum tubes are folded or crimped rather than heat-welded at the tail and need a different closing process.
Before changing the sealer, locate where the tube failed
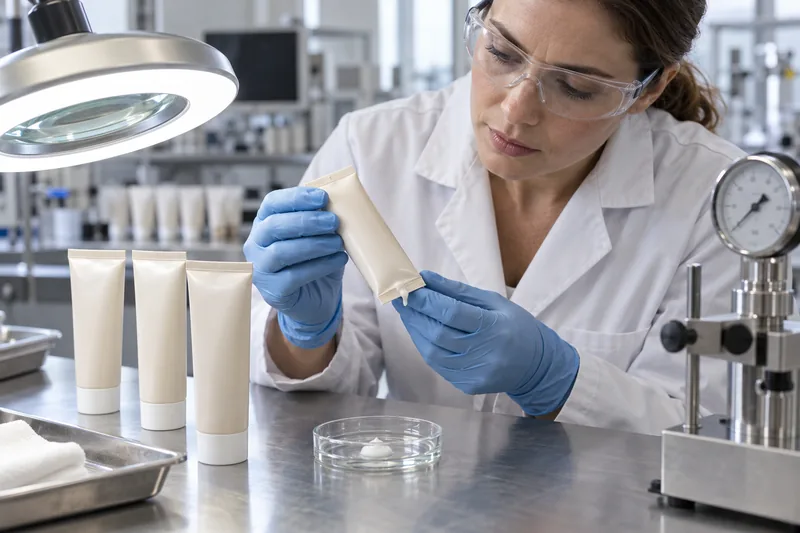
A consumer may report that “the tube seal leaked” even when the flattened end is intact. Treat the package as five possible leak zones. Clean the sample, photograph it as received, note storage orientation, and apply a controlled test that reveals the source without creating a new tear. Preserve failed samples, production settings and lot identities before making adjustments so the evidence is not destroyed during troubleshooting.
| Failure zone | Typical evidence | Likely cause families | First verification |
|---|---|---|---|
| Tail/end seal | Wet edge, channel, peeled layers, thin burnt line or split beside the weld | Heat/pressure/time/cooling, contamination, alignment, material variation | Open and inspect the seal cross-section; compare positions across the jaw width |
| Laminate side seam | Longitudinal wet track or split; failure concentrated where side seam enters tail fold | Converter seam, overlap geometry, orientation/eyemark, fold stress | Map side-seam angle relative to the tail fold and failing edge |
| Shoulder/head weld | Leak ring where body joins molded shoulder; separation under squeeze | Tube-converter head welding, contamination, formula attack, body/head mismatch | Internal-pressure or bubble test focused on shoulder; converter traceability review |
| Tube wall | Pinhole, flex crack, crease split, delamination or abrasion puncture | Material/formula compatibility, excessive flex, transport contact, manufacturing defect | Magnification, light transmission, filled aging and pack-contact mapping |
| Closure/orifice | Product in cap, wet thread/land, damaged membrane or open flip-top | Cap fit, torque/snap engagement, sealing land, orifice residue, closure damage | Separate cap/shoulder airtightness and repeated-use check |
European tube standards reinforce this separation. EN 12377 is a method for testing air tightness of the closure attached at the shoulder; it is not a tail-seal test. ETMA separately lists standards for laminate head-weld strength and side-seam strength. A test named for “the tube” therefore may evaluate only one interface.
How does a cosmetic tube tail seal work?
Most plastic and laminate cosmetic tubes arrive at the filler with the cap and shoulder assembled and the tail open. Product is dosed through that open end. In hot-air sealing, heated air softens the inner thermoplastic surfaces; the tube moves to cooled jaws, which flatten the walls, apply pressure and hold the interface while it forms and cools. The sealed tail is then trimmed and may be embossed or coded.
A strong end seal needs four conditions at the interface: clean contact, sufficient molecular mobility from heat, intimate contact from pressure, and stability while cooling. The settings are coupled. Higher temperature can compensate for shorter heating only within the material’s safe window. More pressure cannot join a cold interface. Longer heat can thin or degrade a seal that was already hot enough.
Seal quality = tube construction + clean seal zone + heat input + jaw contact + cooling + subsequent load.
Machine temperature alone is not a seal specification. Airflow, nozzle geometry, distance, exposure time, line speed, jaw gap, pressure, water temperature, tube diameter and wall structure determine what the interface actually experiences.
Hot air is common, but it is not the only closing method
The Tube Council describes hot air as a widely used method for plastic and laminate tubes. Ultrasonic systems generate heat through high-frequency vibration at the interface and may tolerate limited seal-zone contamination better, but that does not make product in the seal acceptable. High-frequency sealing is associated with aluminum-barrier laminates, while external hot jaws transfer heat through the tube wall. Collapsible aluminum tubes are mechanically folded and crimped. Select the method around the exact structure, diameter, line speed, appearance target and equipment capability.
Why do tube seals leak, crack or burst?
1. Under-fusion creates a weak bond or open channel
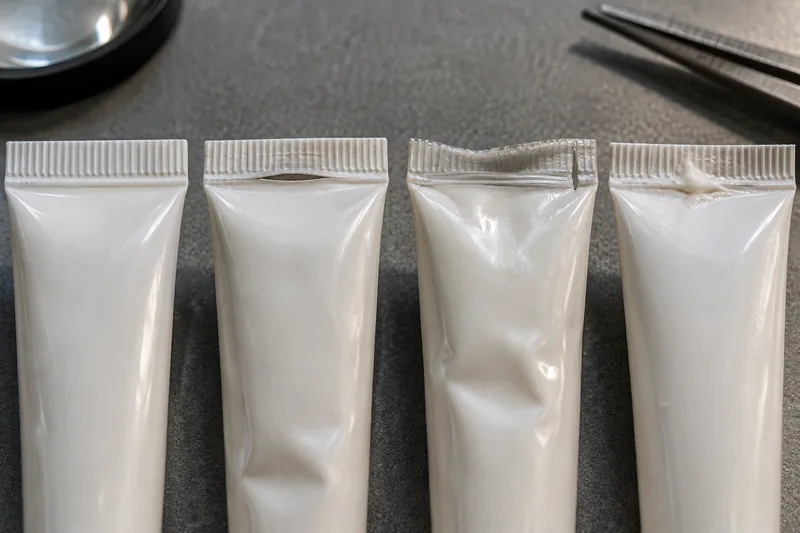
If the inner surfaces do not receive enough heat, time or intimate contact, sections remain only pressed together rather than welded. Low hot-air energy, excessive line speed, poor nozzle position, insufficient jaw pressure, a jaw gap that does not suit the combined wall thickness, or an unsuitable inner sealant layer can produce this condition. The result may look straight but peel easily or leak through a narrow channel.
2. Excess heat can thin and damage the seal
Too much heat or excessive exposure can over-soften the structure. When the jaws close, molten polymer may be squeezed out of the critical section, leaving a thin line that tears under pressure. Discoloration, waviness, bubbles, edge distortion or material build-up on tooling support this diagnosis. Viva’s tube-sealing guide links thin sealing lines to excessive temperature, excessive blow time or an overly tight clamp gap; it also shows that a thick line may indicate too little heat or too wide a gap. The visual direction matters—“hotter” is not a universal fix.
3. Product contamination blocks surface contact
A film of cream, oil, powder or cleanser in the tail can prevent the two thermoplastic surfaces from meeting. It may also create vapor during heating or leave a narrow pathway after the material cools. Common routes are splash from a high fill nozzle, stringing after nozzle cut-off, foaming, excessive fill volume, a nozzle touching the wall, or tube movement between filling and sealing.
A faster heater or higher clamp force does not reliably eliminate contamination. Correct the fill profile: use an appropriate diving nozzle, control suck-back or cut-off, match nozzle diameter to the tube, allow headspace/tail allowance, manage foam and keep the seal zone demonstrably clean. If ultrasonic sealing is evaluated for contamination tolerance, it still needs actual-formula trials and defined limits.
4. Misalignment or damaged tooling creates local weakness
The hot-air nozzle, tube holder, cooling ring and jaws must center the tube and contact it evenly. A tilted tube can receive more heat on one side and more compression on the other. Nonparallel, worn or contaminated jaws produce a seal line that changes thickness across its width. An oval tube needs the correct puck and orientation; borrowing change parts from a nearby diameter can distort the wall or leave uneven heating.
Laminate tubes add a longitudinal side seam. If that thicker seam is folded at an unfavorable point or too near a tail edge, the jaw must bridge a sudden thickness change. Viva recommends controlling the seam relative to the fold through accurate eyemark positioning; the exact allowable geometry should come from the tube and machine suppliers for the approved design.
5. The tube construction changed but the recipe did not
PE blend, layer structure, wall thickness, color concentrate, laminate sealant layer, recycled content, diameter and converter process can change the usable sealing window. A recipe qualified for an extruded PE tube should not be copied to PBL or ABL, and a 30 mm tube should not inherit a 50 mm setup without a line trial. Incoming lots may also differ enough to expose a process running at the edge of its window.
6. Downstream pressure exceeds the package margin
A seal can be continuous yet fail when the tube is squeezed, stacked, dropped, heated or taken to lower atmospheric pressure. High product viscosity or a dispensing orifice that is too small can increase the force a user applies; that pressure is carried by the tail, wall, shoulder and closure. Excessive fill reduces compliant headspace and may place product directly against the seal. The remedy may involve orifice, fill volume, tube structure or pack-out—not just the sealer.
How tube material changes the failure mode
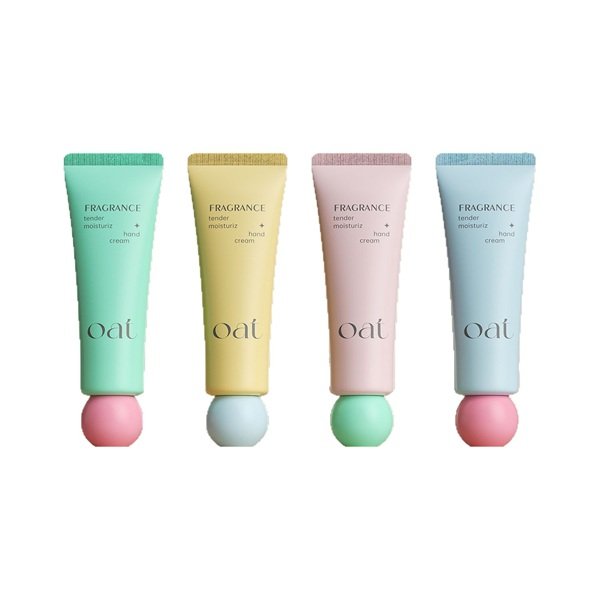
The visible pack shape does not reveal the sealing layer. Select from cosmetic cream tube formats only after defining the formula, barrier, squeeze behavior and sealing equipment.
| Tube construction | Tail-closing implication | Failure emphasis | Qualification priority |
|---|---|---|---|
| Extruded/coextruded PE | Inner PE surfaces are heat-welded; wall flex must be retained | Over-thinning, uneven heat, squeeze/flex cracking, formula attack | Seal window plus filled flex and compatibility tests |
| PBL | Sealant layers weld around a plastic barrier structure and longitudinal seam | Side-seam intersection, layer delamination, rebound | Tail/side-seam orientation and aged filled-package integrity |
| ABL | Thermoplastic inner layers seal around a foil-containing laminate; HF may be an equipment option | Fold stress, foil-layer cracking, side seam and delamination | Method compatibility, fold geometry, barrier after flex and seal |
| Aluminum tube | Tail is folded/crimped mechanically, not plastic heat-sealed | Incorrect fold geometry, metal cracking, internal lacquer or closure issues | Specified fold style, dimensions and filled compatibility |
For a deeper material decision, use Boyu’s comparison of ABL and PBL tube structures. A common PE squeeze-tube format can be a useful starting point for creams, but suitability still depends on the actual formula, fill process and sealing equipment.
Does temperature, humidity or altitude cause tube seal failure?
Environment usually exposes or accelerates a weakness; it is not a single independent cause. A marginal bond, thin heat-damaged line, formula-softened layer or overfilled tube may survive a line-side squeeze and fail after thermal cycling, parcel compression or reduced external pressure.
High temperature
Warm storage can reduce formula viscosity, change vapor pressure and increase polymer creep or softening. Product can migrate through a small channel more readily, while a loaded seal can deform over time. The headspace gas also expands as absolute temperature rises; actual stress depends on fill level, vapor behavior and package compliance. Do not infer a universal failure temperature from resin type alone.
Low temperature and temperature cycling
Cold can stiffen the tube and raise the force needed to dispense a viscous product. A user then creates a larger pressure pulse, and a brittle crease or weak interface may crack. Repeated hot/cold cycles also make dissimilar layers and components expand and contract differently. Test the complete filled tube, then allow a defined recovery period before inspection so temporary stiffness is not confused with permanent damage.
Humidity
Relative humidity does not automatically weaken every PE weld. Its importance depends on the full structure: moisture-sensitive laminate or adhesive layers, water-vapor transmission, hygroscopic formula, labels and especially corrugated secondary packaging. ASTM D4332 notes that many packaging materials—particularly cellulosic materials—change physical properties with temperature and relative humidity. Condition the finished pack when carton compression and distribution protection matter, rather than attributing a tube leak to humidity without evidence.
Altitude and reduced external pressure
Aircraft and high mountain routes reduce external pressure, increasing the pressure differential across a sealed tube. ASTM D6653 is designed to evaluate altitude effects on packaging systems by vacuum and identifies feeder-aircraft exposure as a relevant transport condition. It is qualitative development evidence, not a universal tube pass pressure. Test the filled retail and shipping configuration for the actual route and inspect after a defined recovery period.
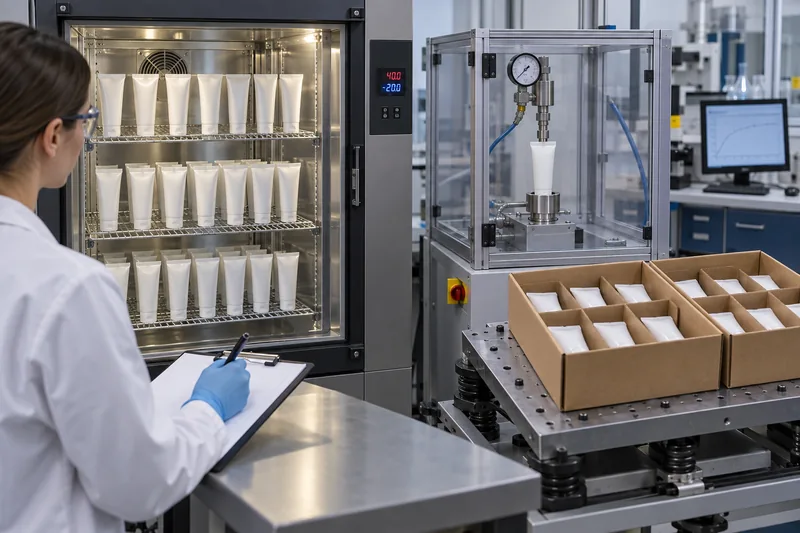
Vibration, drop and compression can then act on the conditioned pack. Use final tubes, formula, retail cartons, dividers and shipper; empty-tube testing does not recreate mass, internal pressure or product contamination. Boyu’s guide to cosmetic packaging drop-test methods explains why a method name alone does not determine height, sequence or acceptance criteria.
A practical diagnostic workflow for leaking tubes
- Quarantine and map the population. Record SKU, tube/laminate lot, cap lot, formula batch, filler, line, shift, sealing recipe, production time and carton position. Separate isolated damage from a repeating lane or time pattern.
- Inspect without loading the pack. Photograph wet tracks, seal line, side seam, shoulder and closure. Note whether the tube arrived cap-up, cap-down or on its side.
- Locate the leak. Use a method suitable for the filled or empty condition. Add colored tracer only when it will not attack or swell the construction. Do not mistake trapped surface air for a bubble stream.
- Open the seal and classify failure. Look for unbonded glossy zones, product residue, voids, polymer squeeze-out, discoloration, delamination and thickness change. Compare left, center and right.
- Compare known-good controls. Test unfilled seals, filled seals and a retained accepted lot under the same conditions. This separates tube conversion from filling contamination and test artifacts.
- Audit the process record. Check heater output, air pressure/flow, actual line speed, nozzle/change parts, jaw gap/parallelism, cooling-water condition, fill volume and downtime/restart history—not only displayed setpoints.
- Change one causal variable at a time. Recreate the defect, run a controlled trial and verify after conditioning. A correction that improves appearance but reduces burst margin is not closure.
| Observed pattern | Likely hypotheses | Corrective direction |
|---|---|---|
| Seal peels with little material deformation | Under-fusion, low pressure, wrong inner layer, contamination | Confirm clean surfaces; develop heat/contact window; verify tube construction |
| Thin, brittle or browned line | Too much heat/time, tight gap, uneven heating | Reduce damaging energy/compression; center nozzle; inspect tooling and actual exposure |
| Random narrow channel with cream residue | Splash, stringing, foam, overfill, dirty tube tail | Correct nozzle motion/cut-off, fill height and cleanliness; reject contaminated seals |
| One edge fails repeatedly | Nonparallel jaw, off-center tube, cooling-ring or nozzle mismatch | Measure left/right line thickness; align/replace change parts and jaws |
| Failure at side-seam/fold intersection | Unfavorable seam orientation, thickness step, converter seam weakness | Adjust eyemark/orientation where permitted; engage converter; qualify seam and tail together |
| Passes line check, fails after warm storage | Marginal weld, creep, formula softening, microchannel | Run filled compatibility/aging and pressure-hold tests; change structure or window based on mechanism |
| Tube bursts away from the tail | Wall/shoulder weakness, crease, compatibility or test severity—not necessarily a good seal | Record location and pressure/time; inspect wall/head construction and relevance to service |
Which tests should verify a cosmetic tube seal?
Seal strength, seal integrity and package durability are different properties. Use complementary methods and write package-specific acceptance criteria before testing.
| Method | Question answered | Important limitation | Record |
|---|---|---|---|
| Visual and cross-section | Is the line centered, continuous and free of heat damage/contamination? | A neat-looking seal can still be weak or channeled | Width/thickness by position, defects and reference photos |
| Seal separation/peel | How much force separates a defined strip, and how does it fail? | ASTM F88 result includes material bending/elongation and samples only a region; it does not prove no channel | Specimen width, technique, rate, force curve and failure mode |
| Internal-pressure burst/creep | At what pressure does the package fail, or can it hold a set pressure for a set time? | ASTM F1140 says it does not necessarily correlate with F88 seal strength; fixture and airflow affect results | Pressure ramp/hold, time, fixture, tube condition and exact failure location |
| Bubble emission/vacuum | Is there a gross leak pathway? | ASTM D3078 may miss small leaks; product can plug openings; parameters and immersion fluid matter | Vacuum/pressure, dwell, fluid, bubble location and control result |
| Filled squeeze/crush and repeated use | Does the marketed package survive handling and dispensing? | Hand squeezing is not reproducible unless force, fixture or sequence is defined | Formula, conditioning, force/displacement, cycles and leak point |
| Environmental/distribution sequence | Does the filled pack survive route-specific climate, altitude, vibration, compression and drops? | One isolated hazard does not validate the complete route | Conditioning, full pack-out, sequence and immediate/recovery inspections |
ASTM F88 is useful for quantitative process comparison and failure-mode reporting, but the method itself warns that specimen support technique affects results. ASTM F1140 covers unrestrained burst and creep under internal pressurization. ASTM D3078 addresses gross leaks in flexible packages with headspace and explains why small leaks may not be detected. Use the current licensed standards and validate any adaptation for a cylindrical tube tail.
A full cosmetic packaging compatibility protocol should age the actual formula in production-intent tubes and inspect seal integrity, wall/shoulder condition, mass change, appearance and dispensing. Water-filled or empty tubes can screen mechanics but cannot qualify chemical interaction.
How to build a stable sealing process window
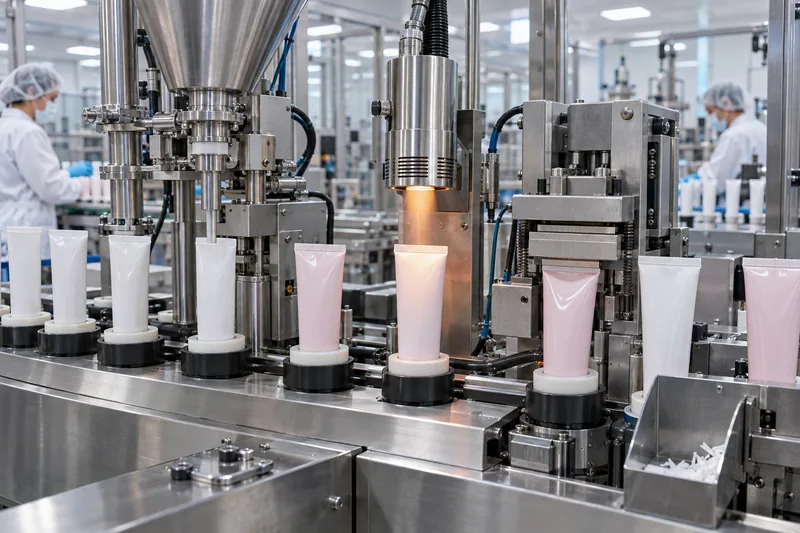
A center-point sample that passes once is not a process window. Use production-intent tubes, formula and change parts to find combinations that work at deliberately varied conditions. The objective is a region where appearance, integrity and mechanical results all pass—not the highest average strength.
- Freeze the specimen. Record supplier, construction, diameter, wall/laminate code, color, cap, tail allowance, formula batch, fill mass and fill temperature.
- Verify mechanical setup. Match puck, nozzle, cooling ring, jaws and trim tooling; check centering, parallelism, cleanliness and cooling before changing recipes.
- Design controlled trials. Evaluate low, nominal and high combinations of the critical energy/contact variables allowed by the equipment and suppliers. Include normal line speed and restart conditions.
- Measure multiple responses. Inspect seal geometry and contamination, run integrity testing, quantify separation strength where useful, and record the failure mode and location. Strength without continuity is not a pass.
- Challenge the boundaries. Use tubes from relevant lots and positions across the run. Verify that reasonable variation in wall, line speed and environment does not push the process outside acceptance.
- Confirm after conditioning. Recheck at the defined release time and after filled aging/distribution conditions. Some failures develop under sustained load rather than immediately.
- Convert findings into controls. Set approved ranges, start-up/after-stop checks, sampling frequency, reaction plan, maintenance limits and change-control triggers.
How to prevent and protect against seal failure
- Design: match tube structure, diameter, tail allowance, shoulder, cap and dispensing orifice to the formula and filling line. For cleanser projects, provide the inputs listed in a complete facial-cleanser tube specification.
- Receiving: identify tube and cap lots; check dimensions, tail condition, side-seam orientation and contamination; keep open ends protected from dust and deformation.
- Filling: control fill mass, product temperature, foam, nozzle depth, withdrawal and cut-off. Keep the entire intended weld zone clean.
- Sealing: use approved change parts and ranges; verify heater/airflow, line speed, jaw gap/parallelism and cooling; make documented checks after start-up, prolonged stop, material change and maintenance.
- Handling: allow the seal to stabilize before aggressive conveying or packing. Avoid guides, bins or operators bending a hot tail.
- Secondary packaging: use orientation, trays or dividers that prevent tail-edge abrasion, concentrated compression and cap opening. Validate the commercial pack, not a carefully hand-carried tube.
- Release: combine visual inspection with a defined integrity test and periodic quantitative verification. Trend results by lot and line rather than recording only pass/fail.
- Change control: re-evaluate resin/laminate, supplier, wall structure, color, PCR level, diameter, formula, fill temperature, cap, sealer, change parts, line speed or distribution route when the change can affect the system.
What should you do with a failed production lot?
- Stop release and define the boundary. Segregate product from the last verified good check through the next verified good check, including work-in-process, packed and shipped quantities.
- Preserve samples and records. Retain leaking units, apparently sound neighbors, raw tubes and start-up samples. Secure machine and fill records.
- Confirm the failure under the approved method. Use controls and multiple units. Separate tail leakage from wall, shoulder and cap failures.
- Assess product risk. Consider contamination, weight loss, formula exposure, label/carton damage and whether distributed stock needs action. Quality and regulatory owners make the disposition decision.
- Validate any rework. Reheating a filled tube can further thin layers, move product into the weld, damage decoration or expose formula to heat. Do not mass-reseal without a demonstrated, documented method and repeat testing.
- Correct and prove effectiveness. Identify the mechanism, update the process/specification and show acceptable results across the controlled operating range—not only on hand-selected samples.
Tube seal information to put in an RFQ and quality agreement
- Tube construction, supplier code, diameter, length, wall/laminate reference, shoulder, neck, cap and required tail allowance.
- Formula type, viscosity range, sensitive solvents/oils/surfactants, particles, fill temperature, nominal fill and planned headspace.
- Filler/sealer make and model, method, line speed, available change parts, trim/emboss requirement and tube orientation method.
- Approved process-window development and which party owns tube supply, filling trials, seal testing and final package approval.
- Visual defect standard, seal-integrity method, strength or pressure method where justified, sample plan, conditioning and failure classification.
- Compatibility, repeated-use and distribution route, including temperature, altitude and e-commerce/retail pack-out where relevant.
- Traceability, retained samples, nonconformance escalation, change notification and revalidation requirements.
Frequently asked questions
What is the correct temperature for sealing cosmetic tubes?
There is no universal temperature. The workable setting depends on tube structure, diameter, wall thickness, heater design, airflow, nozzle, exposure time, line speed, jaw gap/pressure and cooling. Use the tube and equipment suppliers’ starting guidance, then establish a validated process window on production-intent tubes.
What seal-strength value should a cosmetic tube meet?
A universal value is not defensible. Define specimen width, test technique, rate, conditioning and failure mode, then set a project limit from development data and service risk. Pair strength with an integrity method because a high average peel force can coexist with one leaking channel.
Will raising the heat stop a tube leak?
Only if confirmed under-fusion is the cause and the new setting stays inside a safe window. More heat can thin, distort or degrade the seal. If product contamination, jaw misalignment, the wrong laminate or a shoulder leak is responsible, extra heat will not correct the root cause.
Why do tubes pass at the factory but leak after shipping?
The line check may miss a microchannel or sustained-load weakness. Warm storage, reduced external pressure, vibration, compression and drops can expose it. Condition and test filled tubes inside the final pack-out using a route-relevant sequence, then inspect both immediately and after recovery.
Can a water-filled tube validate the seal?
It can screen gross leakage or machine setup, but it cannot represent a formula with different viscosity, surface tension, volatility, oils, solvents, surfactants or particles. Final qualification should use the actual formula or a scientifically justified surrogate and include compatibility aging.
Sources and technical references
Standards describe methods and scope; they do not create one universal cosmetic-tube acceptance limit. Accessed October 3, 2026.
- Tube Council — Tube Sealing Options
- European Tube Manufacturers Association — Tube Types and European Flexible Tube Standards
- Viva Healthcare — Hot Air Sealing Guideline
- ASTM F88/F88M-23 — Seal Strength of Flexible Barrier Materials
- ASTM F1140/F1140M-13(2025) — Internal Pressurization Failure Resistance of Unrestrained Packages
- ASTM D3078-02(2021)e1 — Leaks in Flexible Packaging by Bubble Emission
- ASTM D6653/D6653M-13(2021) — Effects of High Altitude on Packaging Systems
- ASTM D4332-22 — Conditioning Containers, Packages or Packaging Components
- DIN EN 12377:2022-12 — Flexible Tubes: Air Tightness of Closures
- ISTA — Selecting and Using Distribution Test Procedures


 English
  Español de Argentina
  Русский
  Italiano
  日本語
日本語  한국어
한국어  العربية
  Français
  Deutsch